Table of Contents
Introduction
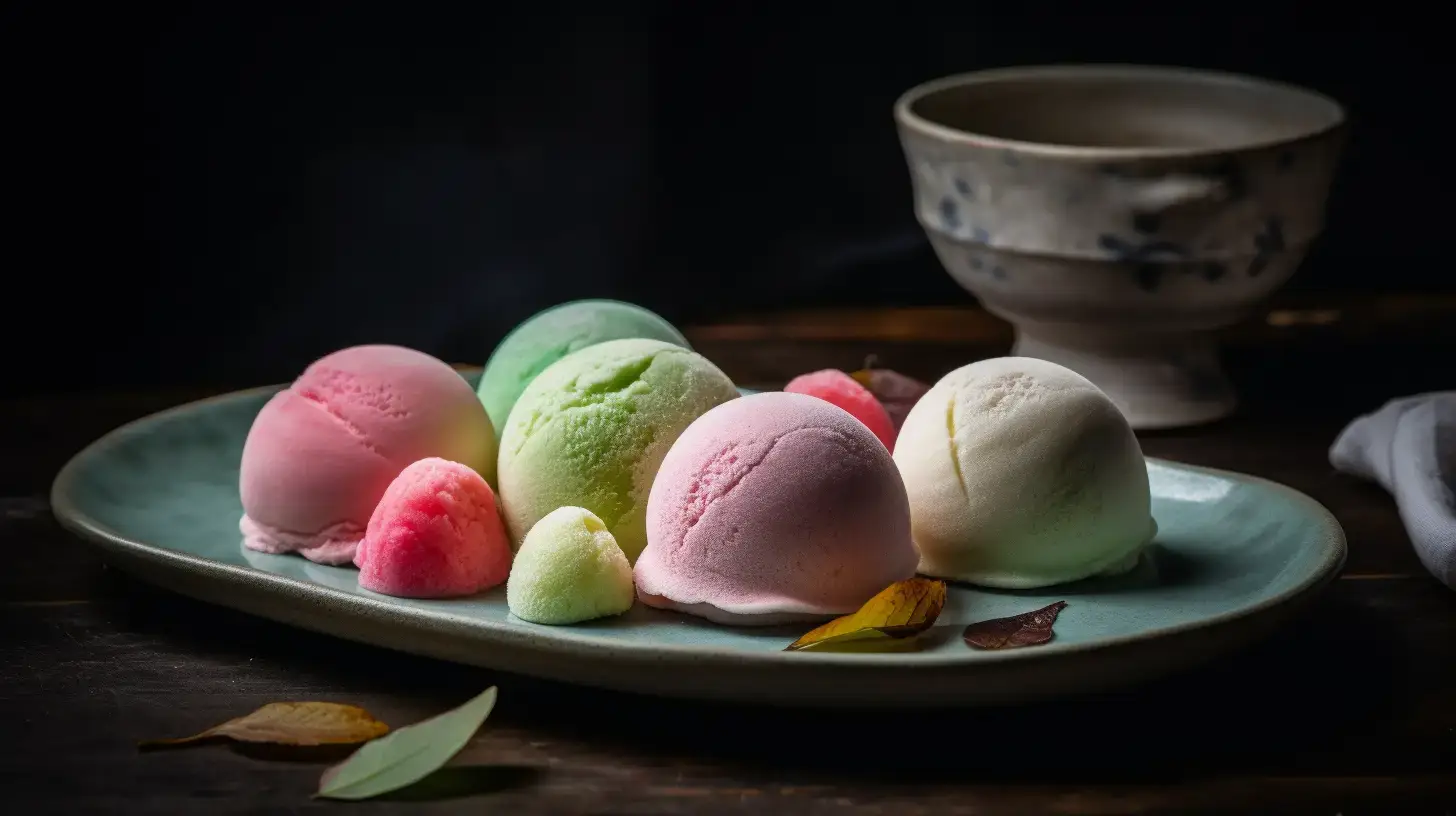
Mochi ice cream perfectly combines a chewy texture with creamy goodness, featuring soft rice flour dough wrapped around a delicious scoop of ice cream. If you’ve ever grabbed a box from the store and thought, “Can I actually make this myself?”—guess what? You absolutely can! And here’s the best part—it’s way simpler than you might think.
So, let’s jump right into the ingredients, the steps, and everything else you’ll need to whip up this fun, tasty treat at home.
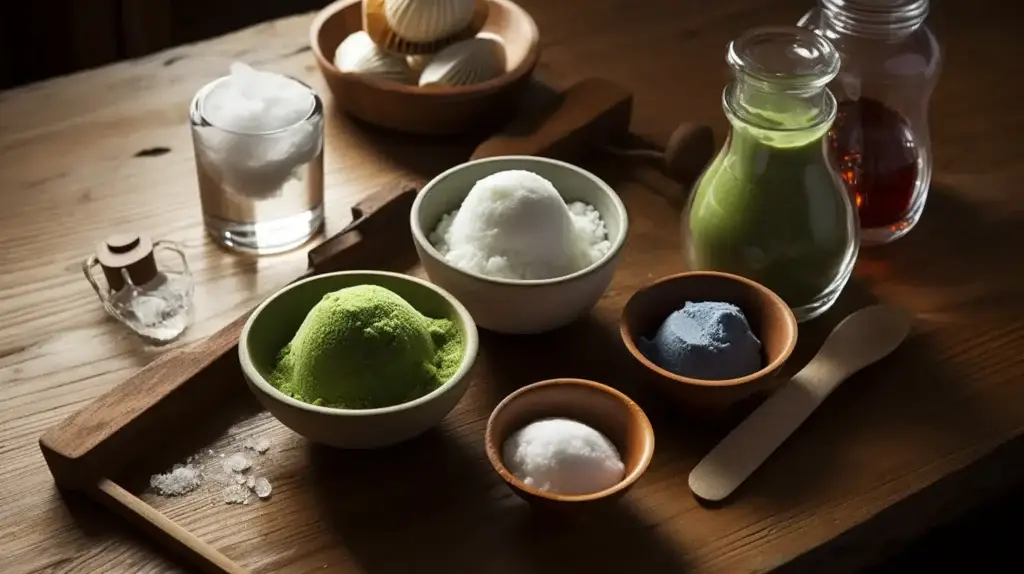
Ingredients You’ll Need
The ingredient list is short and sweet—just like the dessert.
- Sweet rice flour (glutinous rice flour): 1 cup
- Sugar: 1/4 cup
- Water: 3/4 cup
- Cornstarch or potato starch: For dusting and rolling
- Ice cream of your choice: Scooped into small, firm balls
Got everything ready? Let’s get rolling—literally.
Step-by-Step Guide to Mochi Ice Cream
- Prep Your Ice Cream
Start by scooping your ice cream into small balls (about 2 inches wide). Line them up on a baking sheet covered with parchment paper, then pop them into the freezer. They need to be rock solid—this is non-negotiable. Soft ice cream will make the assembly process a sticky disaster.
- Make the Mochi Dough
Here’s where the magic happens.
- In a microwave-safe bowl, mix the sweet rice flour, sugar, and water until smooth. No lumps allowed!
- Cover the bowl loosely with plastic wrap. This keeps moisture in while preventing a microwave explosion.
- Microwave for 1 minute. Stir the mixture, then microwave again for another minute. Continue in 30-second bursts until the dough is thick, glossy, and sticky.
- Be careful—it’s hot! Let it cool for a minute before handling, but don’t wait too long, or it’ll get tricky to work with.
- Roll Out the Dough
This is where things get fun (and maybe a little messy).
- Thoroughly sprinkle your work surface with cornstarch or potato starch. Without a doubt, this stuff is your best friend—it prevents the sticky dough from turning into a total mess.
- Place the mochi dough onto the prepared surface, sprinkle additional starch on top, and gently roll it out. Aim for about 1/4 inch thick. You want it thin enough to fold but thick enough to hold the ice cream.
- Cut and Wrap
Now for the assembly line.
- Use a round cookie cutter (or a glass) to cut circles about 3 inches wide.
- Place a frozen ice cream ball in the center of each dough circle.
- Carefully stretch the edges of the dough up and around the ice cream. Pinch it closed at the top—it’s okay if it’s not perfect. That’s part of the homemade charm.
Pro tip: Work quickly! The heat from your hands can melt the ice cream.
- Freeze and Enjoy
Once wrapped, place the mochi seam-side down on a tray lined with parchment paper. Freeze them for at least an hour to let everything set. When you’re ready to serve, let them sit for a minute or two to soften slightly—it’ll make that first bite even better.
What Makes Mochi Ice Cream So Special?
Now that you’re a mochi-making pro, let’s dig into some common questions and fun facts about this beloved dessert.
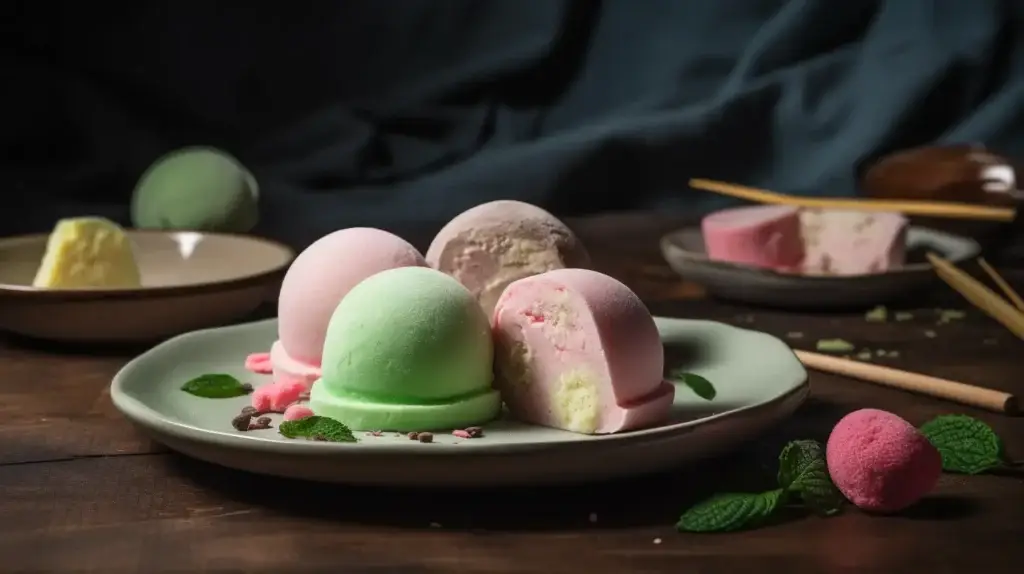
Creative Variations for Mochi Ice Cream
The versatility of mochi ice cream means you can experiment with endless flavor combinations. Here are some creative ideas to take your mochi game to the next level:
- Chocolate Lovers’ Dream: Use chocolate ice cream and add a sprinkle of cocoa powder to the mochi dough for a double chocolate treat.
- Citrus Burst: Fill the mochi with lemon or orange sherbet for a tangy twist that’s perfect for summer.
- Matcha Bliss: Incorporate 1 teaspoon of matcha powder into the dough for a subtle green tea flavor that complements vanilla or red bean ice cream.
- Peanut Butter Delight: Pair peanut butter ice cream with a drizzle of chocolate sauce before wrapping it in mochi dough.
- Berry Medley: Use strawberry mochi dough (add a dash of freeze-dried strawberry powder) and fill it with mixed berry ice cream.
These variations allow you to customize mochi ice cream for any taste preference or occasion. Get creative and surprise your friends with unique combinations!
What is Mochi Ice Cream Made Of?
Mochi ice cream has two main components:
- The mochi shell: Made from sweet rice flour, sugar, and water, it’s soft, chewy, and slightly sweet.
- The ice cream filling: Any flavor you love! Classic choices include matcha, vanilla, strawberry, and mango, but you can get creative with unique options like ube or cookies and cream.
How Do You Eat Frozen Mochi?
The best way to eat frozen mochi ice cream is to let it sit at room temperature for a couple of minutes. As a result, this softens the mochi layer, making it easier to bite into. Just don’t wait too long, or you’ll end up with a melty mess.
What Does Mochi Taste Like?
Mochi has a mild sweetness and a unique, chewy texture. When paired with ice cream, it creates a perfect balance of soft and creamy with just enough chew to keep things interesting. Honestly, it’s like a dessert hug.
Is Mochi Healthier Than Regular Ice Cream?
Let’s be real—it’s still a dessert. While the portion size of mochi ice cream is smaller than a bowl of regular ice cream, it’s not exactly health food. That said, the rice dough adds a little fiber, and the smaller serving sizes can make it a lighter indulgence.
Perfect Beverage Pairings for Mochi Ice Cream
Pairing mochi ice cream with the right drink can enrich the overall dessert experience. Here are some fantastic options:
- Green Tea: The earthy notes of green tea balance the sweetness of mochi ice cream beautifully.
- Iced Coffee: A cold brew or iced latte adds a refreshing contrast to the chewy texture.
- Sparkling Water: Light and fizzy, it cleanses your palate between bites. Include a slice of lime for a refreshing, zesty twist.
- Milk Tea: Classic milk tea or taro milk tea pairs wonderfully with mochi ice cream, especially flavors like matcha or mango.
- Dessert Wine: A small glass of Moscato or Riesling complements the sweetness of the treat without overpowering it.
Whether you’re hosting a dinner party or enjoying a quiet moment at home, these beverages make the perfect complement to your mochi ice cream.
Why is My Mochi Not Chewy?
If your mochi isn’t turning out chewy, here are a few troubleshooting tips:
- Overcooked dough: It can turn rubbery if left in the microwave too long.
- Not enough water: This can lead to a dry, crumbly texture.
- Too much starch: While starch prevents sticking, overdoing it can make the mochi dry. Dust lightly and only as needed.
Tips for Success the Mochi Ice Cream
Here are some bonus tips to make sure your mochi ice cream turns out just right:
- Freeze thoroughly: Both the ice cream and the finished mochi need to be frozen solid before serving.
- Use parchment paper: It’s a lifesaver for handling sticky dough.
- Try different flavors: Don’t be afraid to experiment with unusual ice cream choices like black sesame or salted caramel.
Fun Facts About Mochi Ice Cream
- Cultural Fusion: Mochi ice cream is a blend of Japanese and Western influences, with its roots in traditional Japanese rice cakes and modern ice cream trends.
- Invented in the USA: Mochi ice cream as we know it was popularized in the U.S. by Frances Hashimoto in the 1990s, bringing the concept to a global audience.
- Chewy Science: The unique texture of mochi comes from glutinous rice flour, which turns sticky and elastic when cooked.
- Perfect for Sharing: Mochi ice cream’s small, handheld size makes it an ideal dessert for parties and gatherings.
- Flavors for Days: In Japan, mochi desserts are often filled with red bean paste or matcha, while the Western version incorporates creative ice cream flavors like cookies and cream or caramel.
These fun facts add an extra layer of appreciation as you enjoy this chewy, creamy delight.
Related Ideas for Your Kitchen
Related Topics
Advanced Tips for Mochi Ice Cream Success
- Customize the Dough Texture:
If you prefer a softer mochi, add an extra tablespoon of water to the dough mixture. For firmer mochi, reduce the water slightly. - Double Freeze for Stability:
After wrapping the ice cream, freeze the mochi-covered balls for an additional hour to guarantee they hold their shape when served. - Use Gloves for Wrapping:
To avoid melting the ice cream with the heat of your hands, wear thin food-safe gloves. Dust the gloves lightly with starch to prevent sticking. - Pre-Cut Parchment Squares:
Cut small parchment paper squares in advance to place under each mochi ball. This keeps them from sticking to the tray or each other. - Experiment with Color:
Add food coloring to the dough for a fun visual effect. Light pastel shades work beautifully for events like birthdays or baby showers.
Wrapping It Up
Mochi ice cream offers more than just a treat it’s a unique experience. From the chewy outer layer to the creamy surprise inside, every bite is pure joy. Making it at home might seem a little intimidating at first, but trust me, once you try it, you’ll see just how fun (and rewarding) it can be.
So grab your sweet rice flour, dust off your rolling pin, and get ready to impress yourself—and maybe a few friends. You’ve got this!
If you have any more questions or want to share your mochi adventures, let me know. Happy mochi-making!